Available Technologies
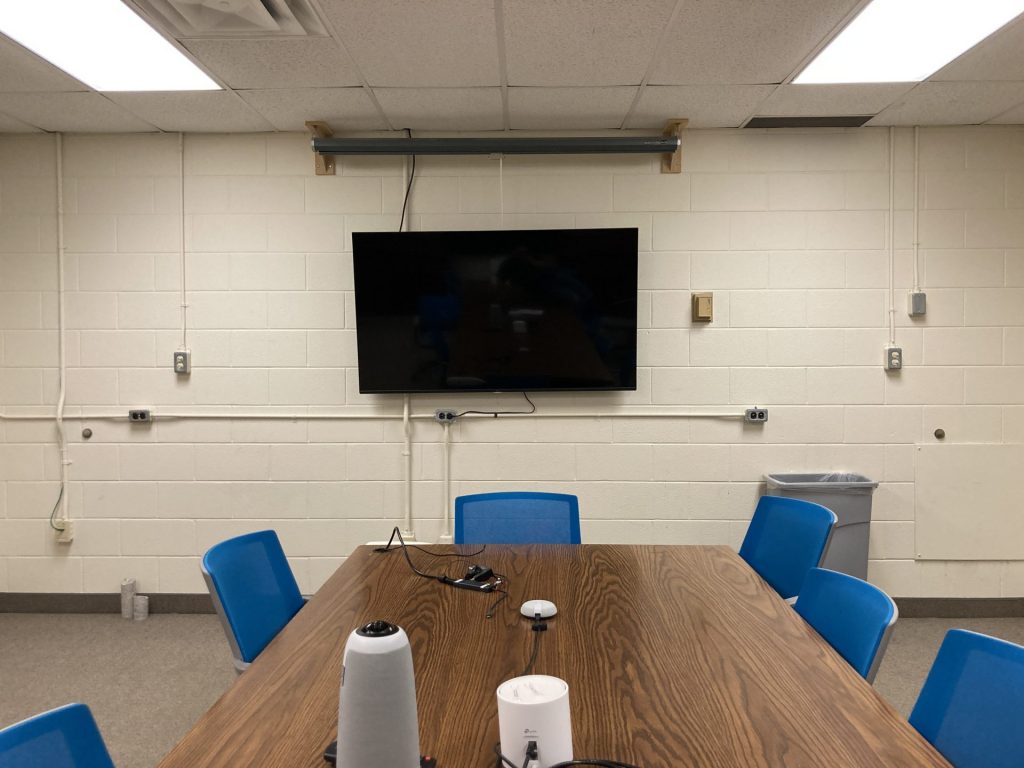
Every meeting is unique and may require multiple technologies. Below is a list of equipment available in Goodwin 524 so you can tailor the room to your needs.
Test Your Setup!
Make sure you test your technology setup prior to the scheduled meeting time to ensure you understand the process and resolve any technical issues.
| Equipment | Uses |
|---|---|
| Teleconference PC | – Hosting or attending a virtual/hybrid meeting |
| Presenter TV | – Hosting or attending a virtual/hybrid meeting from your personal computer or device – Presenting slides or other media to an in-person audience from your personal computer or device |
| Meeting Owl 360° Camera | – Displaying all in-person guests in a virtual meeting using the Teleconference PC |
| Conference Phone | – Dialing into a virtual meeting (audio only) – Hosting or attending a meeting over the phone |
| Whiteboard | – Collaborative in-person brainstorming |
| Presentation Remote | – Navigating through a slideshow presentation – Highlighting key points using the built-in laser pointer |
| Ethernet | – Connecting to the internet (not the QSC wired network) |
Utilization Examples
The Teleconference PC will be the main meeting attendee. It will handle the room’s camera and microphone input for the in-person guests via the Meeting Owl Camera and display the virtual guests on its TV.
In-person presenters will join the meeting on their computer to share content. If you have more than one in-person presenter, consider designating one presenter computer and have all the presenters use it to share their content with the meeting to minimize technical issues.
Optionally, you can also use the Presenter TV if you wish to show the content to the in-person guests on a different display than the meeting guests.
Before the meeting starts…
- Invite the Teleconference PC to the meeting.
- See our help page on the internal booking website.
- Invite your presenter(s) to the meeting. They will need it to share their presentation.
When it’s time to join…
- Join the meeting on the Teleconference PC.
- Optional: Connect the presenter’s computer to the Presenter TV to view presentations on a separate display.
- Join the meeting on the presenter’s computer.
You can connect your laptop to the Presenter TV using the available HDMI cable (and adapter, if needed) to display content to in-person guests.
Teleconference PC
The Teleconference PC is a computer that is available for use while in GW524. It has its own Teams account already signed in and can be invited to your meeting.
Click for usage information
Using the PC
- Turn on the TV using the remote pointed towards the Teleconference TV.
- Using the wireless keyboard (with built-in touchpad) also labeled Teleconf TV, log into the PC’s SOC Guest account using the password listed on the keyboard’s label. You may need to press a key or use the trackpad to wake up the computer first.
When you are finished using the PC, lock the computer by pressing ⊞ + L.
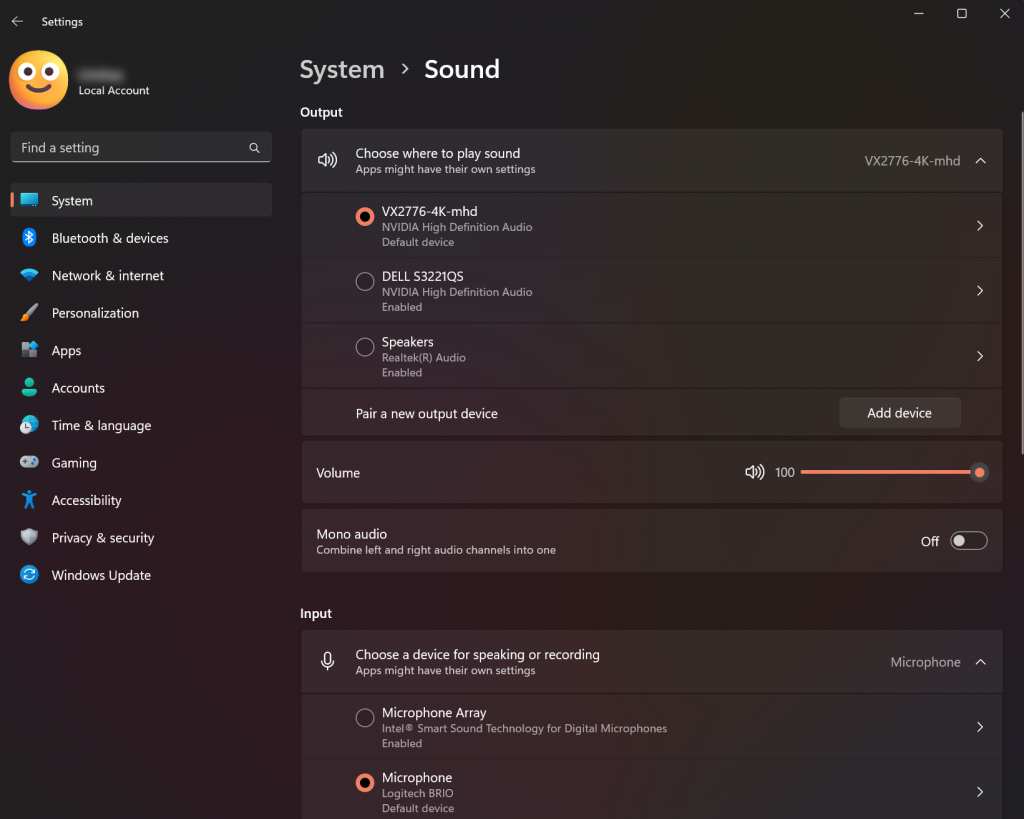
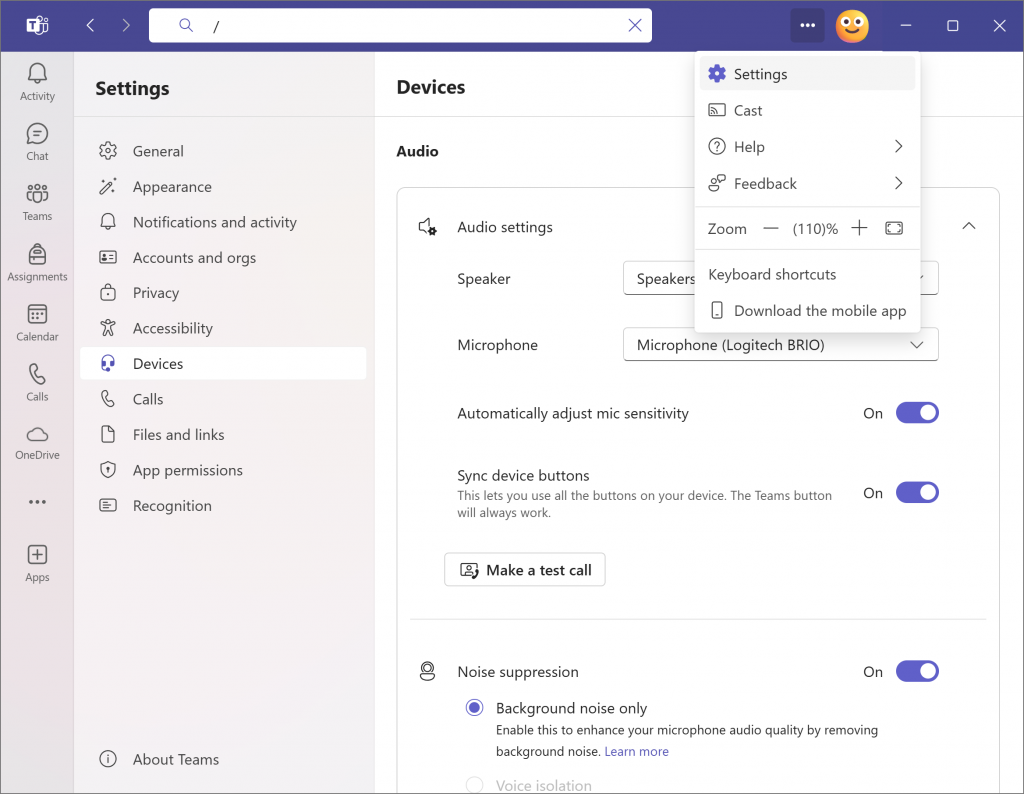
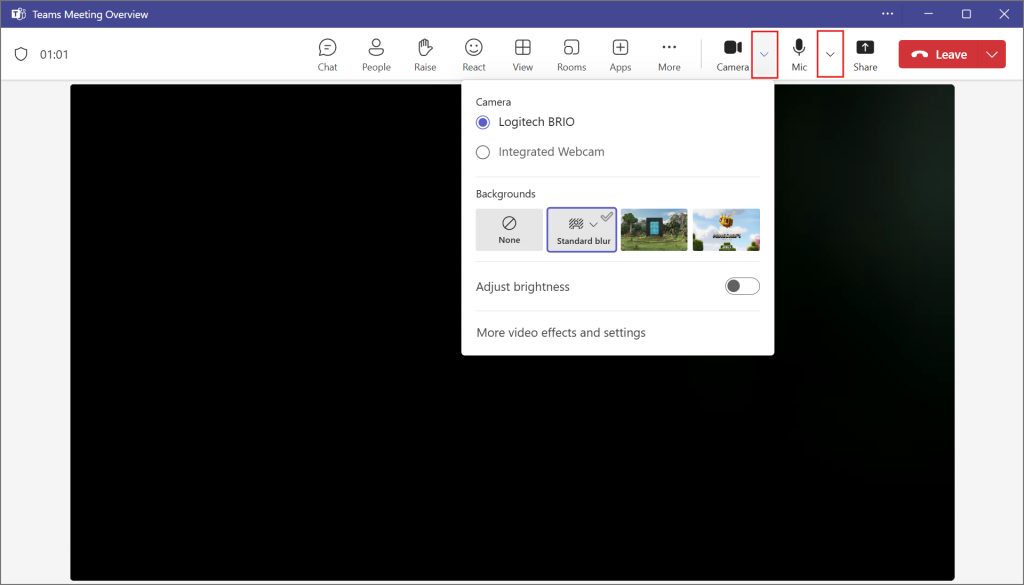
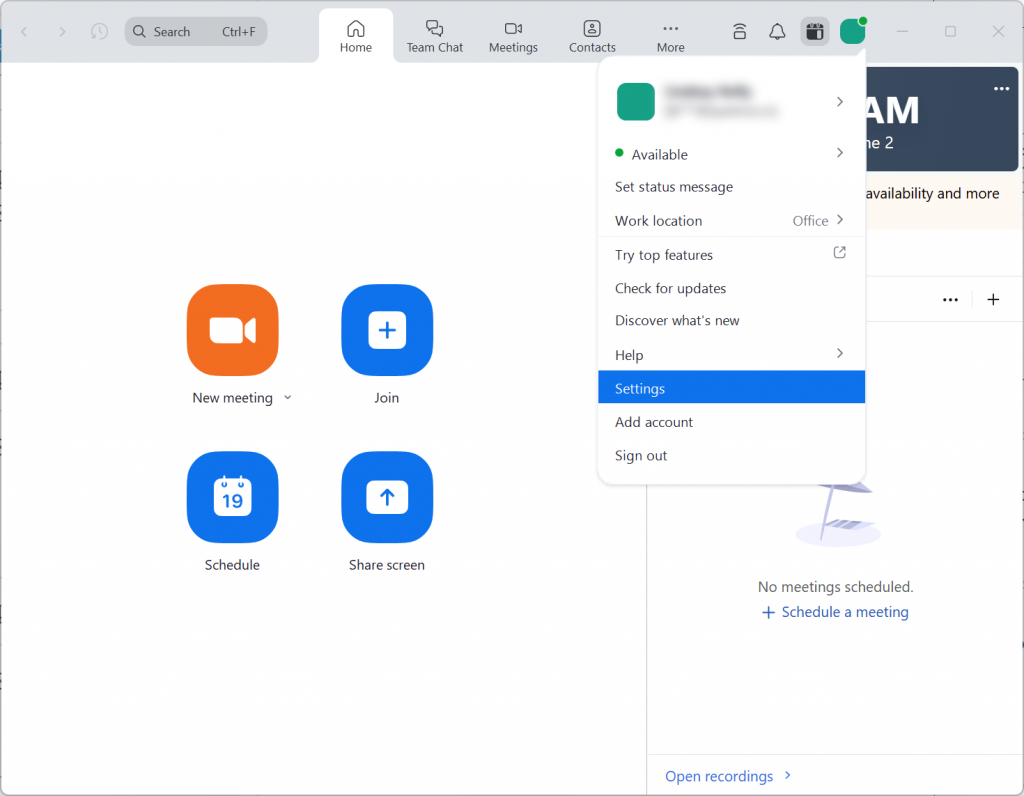
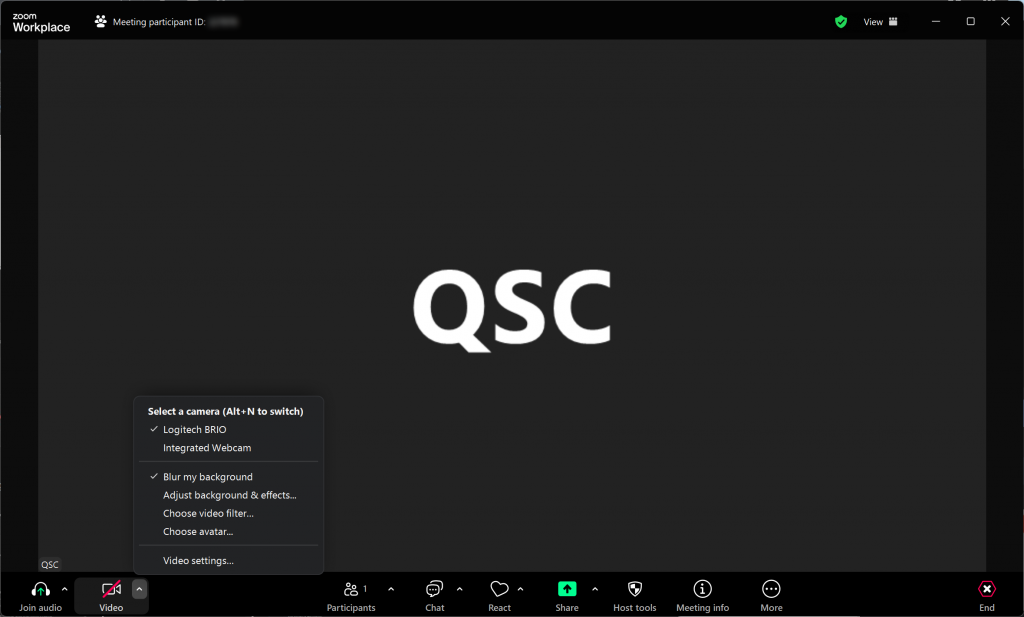
Device Settings Quick Guide
Accessing Teams/Zoom Device Settings
| Setup | Setting | Device |
|---|---|---|
| Meeting Owl | Speakers | Meeting Owl 3 |
| Microphone | Echo Cancelling Speakerphone (Meeting Owl 3) | |
| Camera | Meeting Owl Camera | |
| Video Background | None | |
| Webcam | Speakers | LG TV Speakers |
| Microphone | Microphone (Logitech BRIO) | |
| Camera | Logitech BRIO | |
| Video Background | None |
Presenter TV
The Presenter TV can be connected to your personal computer. It is best used to share your screen with in-person guests, or to view virtual meeting guests when attending a meeting on your own device.
Click for usage information
Connecting to the Display
- Plug in the HDMI cable found on the table into your computer. Various adapters are available if your computer does not have an HDMI port.
- Turn on the TV using the remote pointed towards the Presenter TV. Wait a few seconds for the TV to detect the computer input.
- If the TV still reads “No Signal”, check the TV is on the right input. Press the input
 button on the top right corner of the remote and select the GW524 Presenter input.
- If the TV still reads “No Signal”, check the TV is on the right input. Press the input
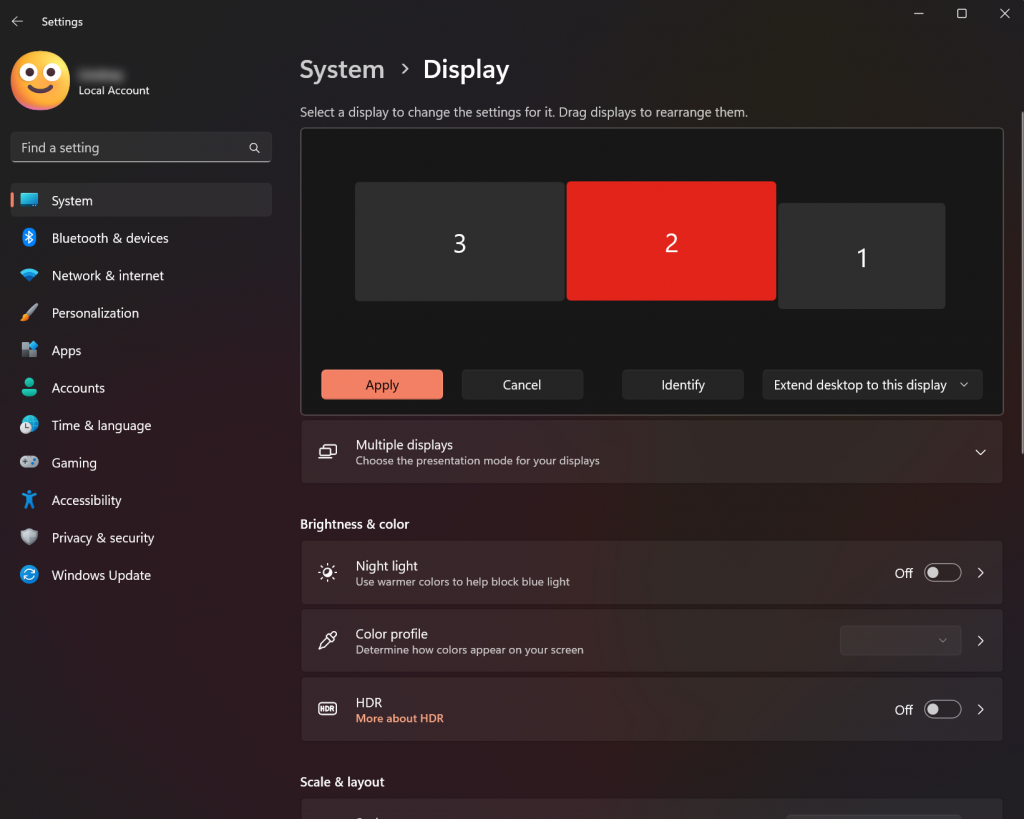
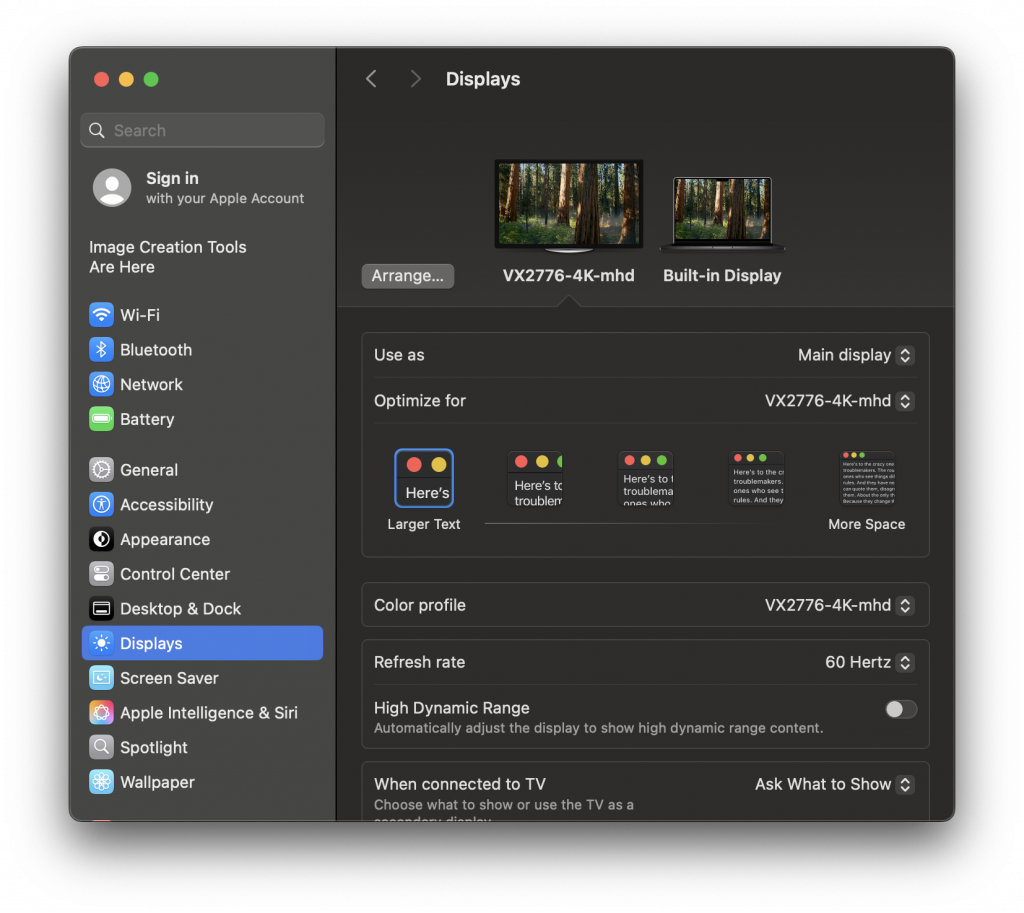
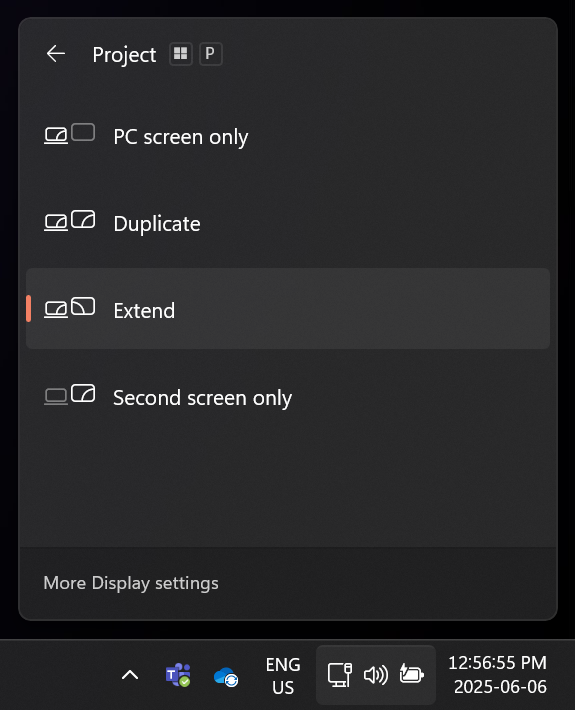
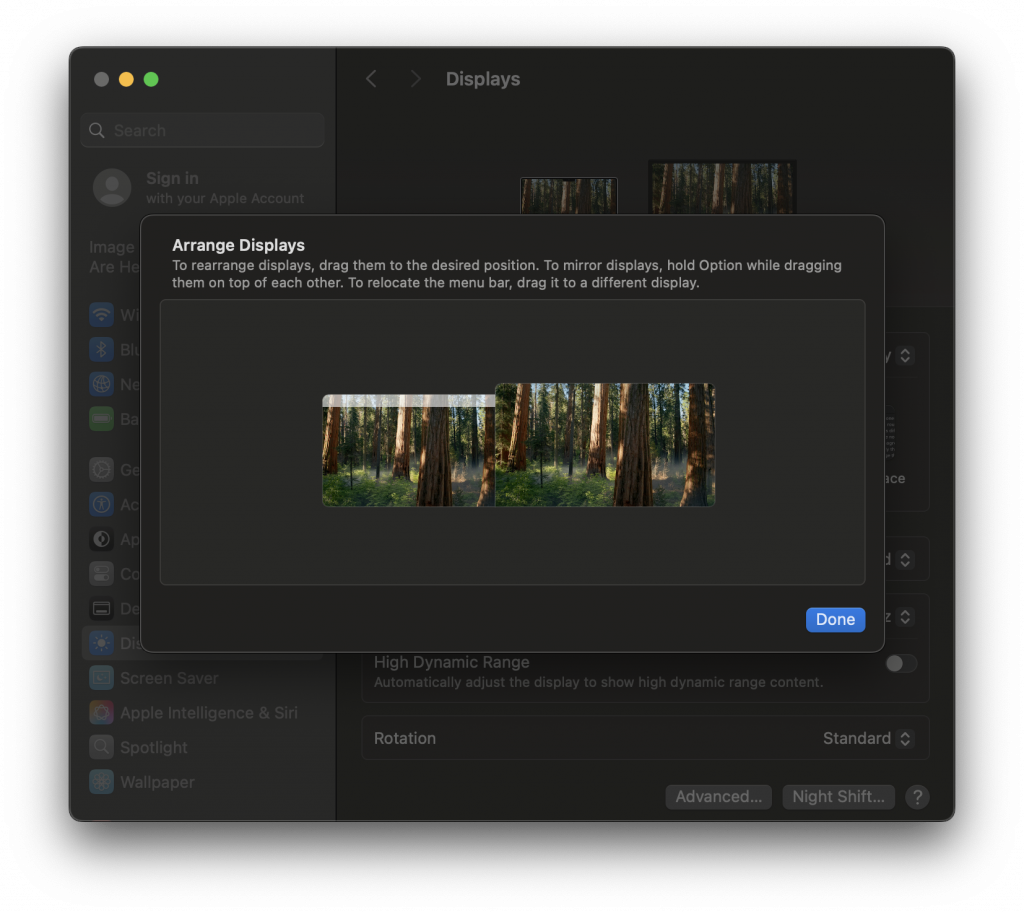
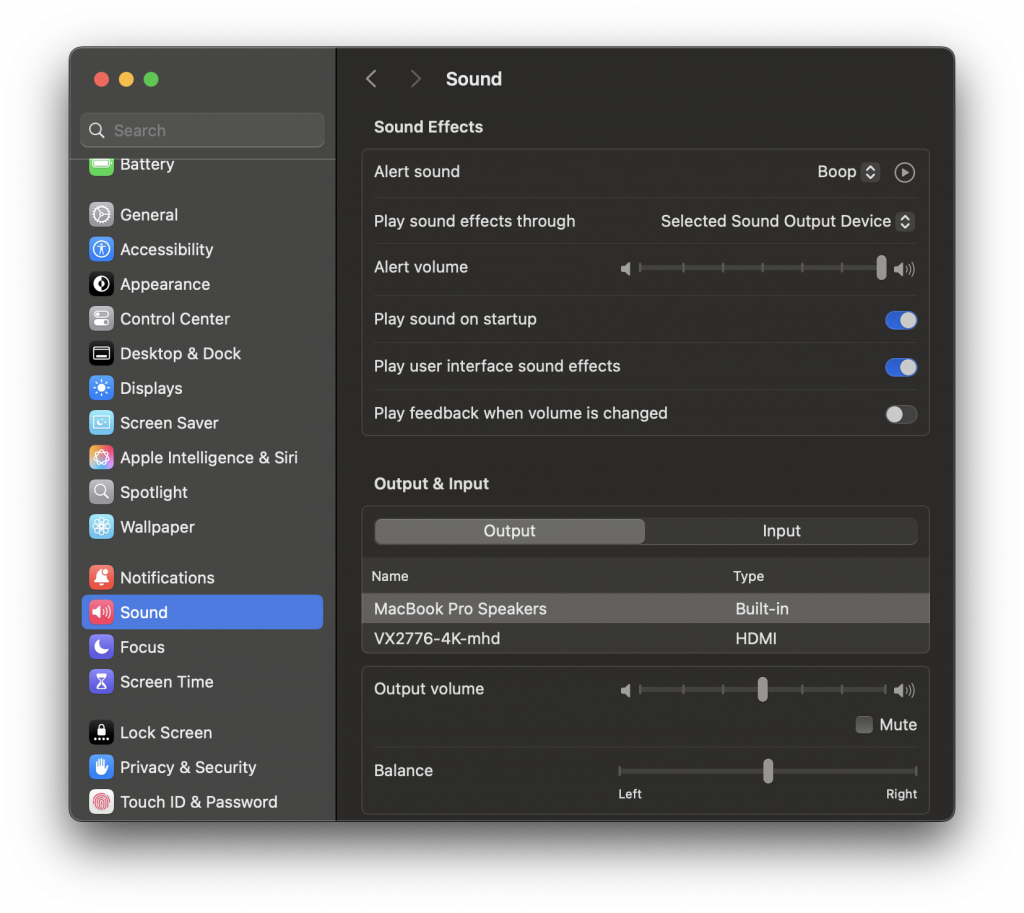
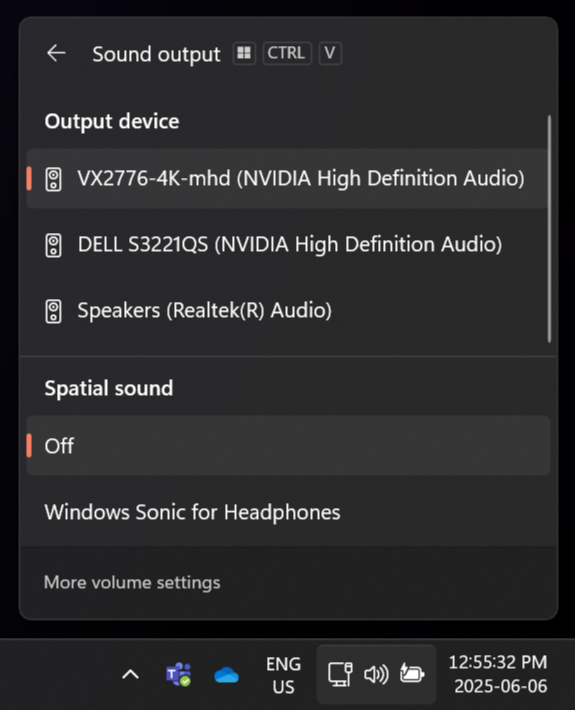
- If required, configure your display and audio settings.
Meeting Owl Camera
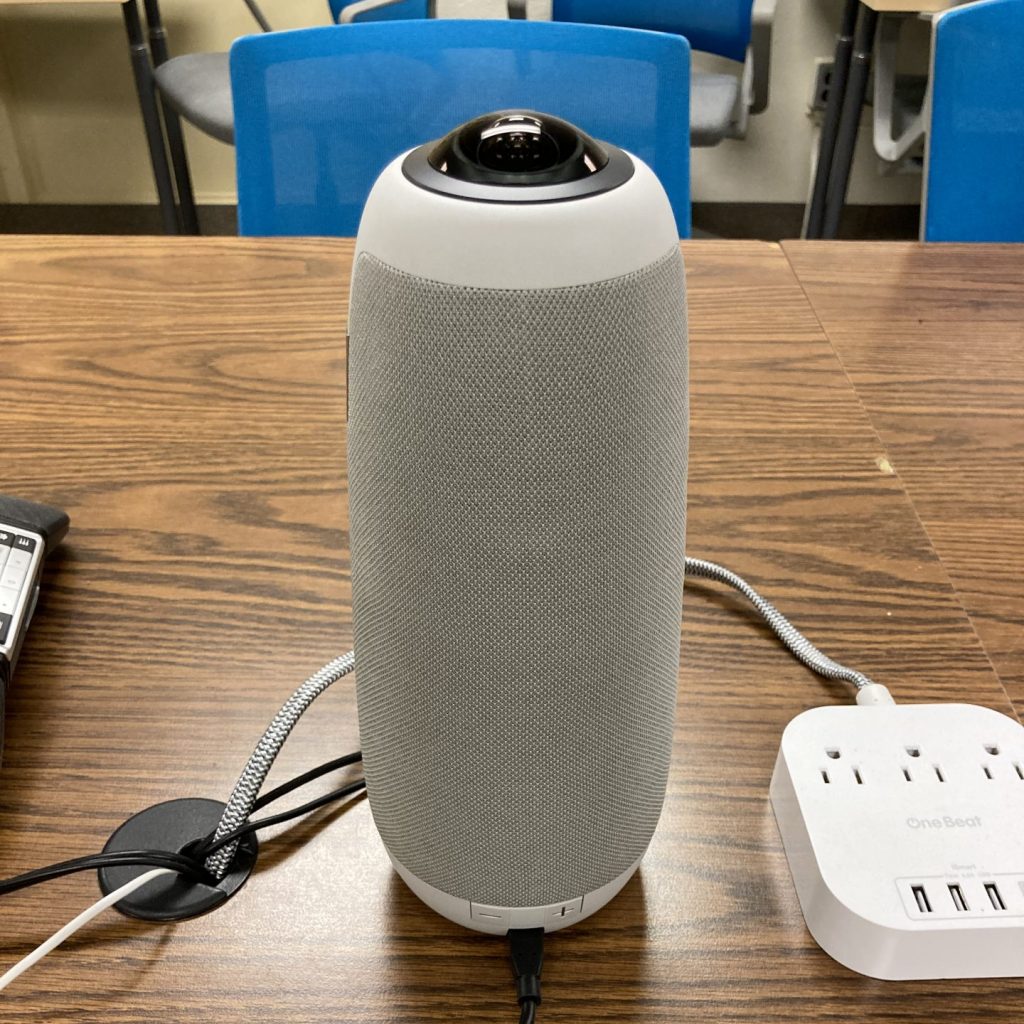
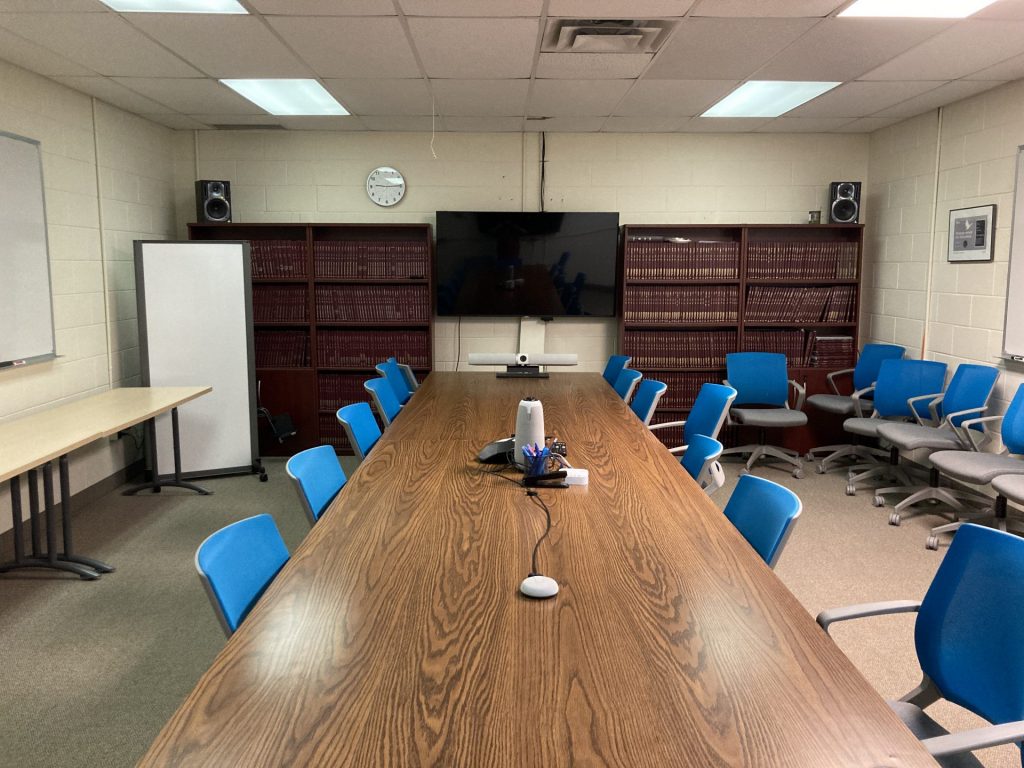
The Meeting Owl Camera is a 360° camera used with the Teleconference PC to show each in-person meeting guest at the conference room table. It has an automatic spotlight feature that focuses on the active speaker.
Click for usage information
The Owl Bar
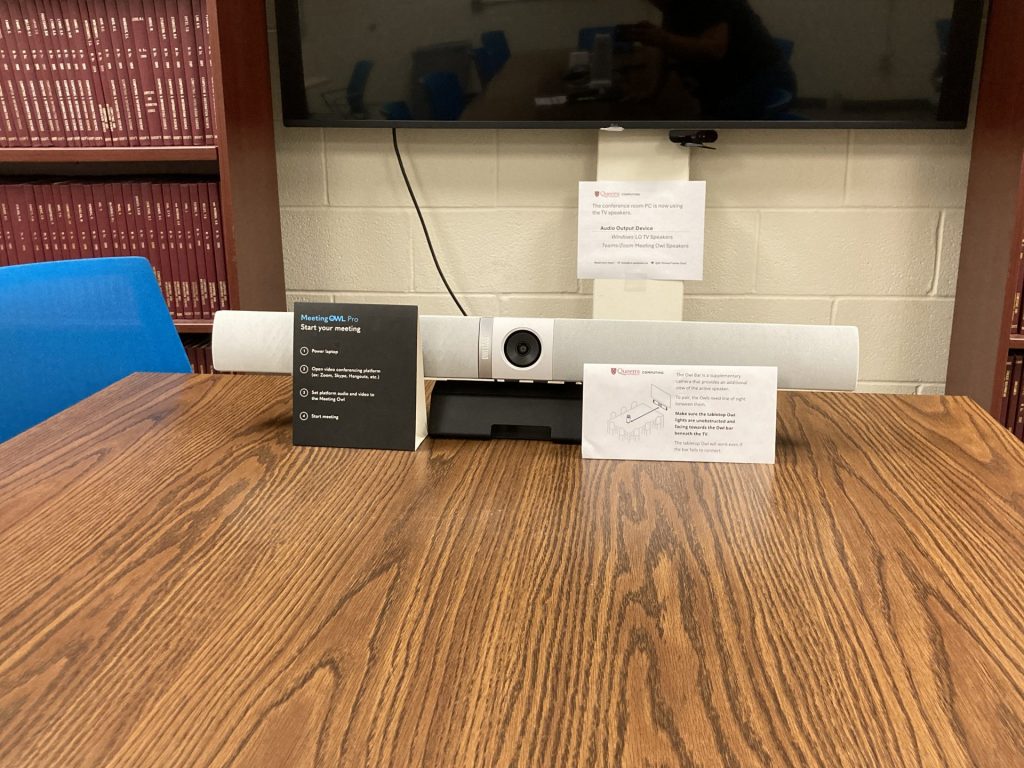
The Owl Bar is a supplementary camera that provides an additional view of the active speaker so the software can best select an angle where they are facing the camera. It will mainly capture the active speaker while they are facing virtual guests on the Teleconference TV.
Even if the devices fail to connect, the tabletop Owl will remain functional.
Pairing the Owls
The Owl Bar pairs wirelessly automatically with the tabletop Meeting Owl 3. During the pairing process, the lights on both devices flash so their cameras can spot each other.

Make sure to face the tabletop Owl towards the Owl bar and the lights on both devices are unobstructed.
Conference Phone
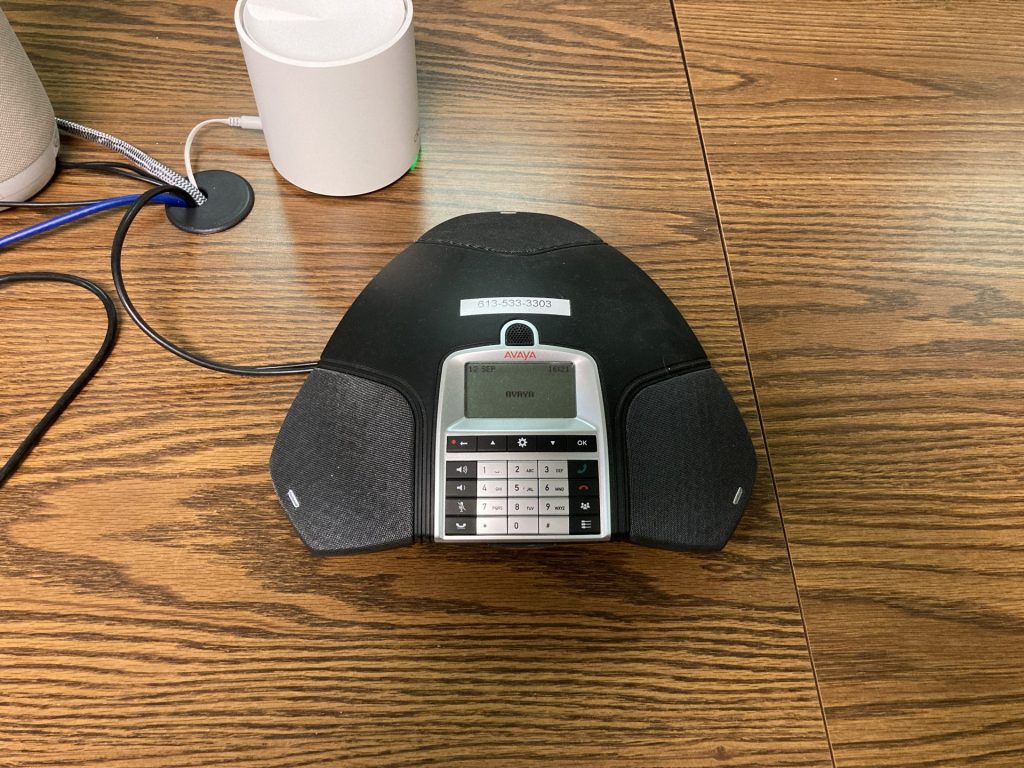
The conference phone can be used for ingoing or outgoing calls, including group conference calls. It can also be used to dial into a virtual meeting’s audio. It has a dedicated phone number as listed below.
+1 (613) 533 – 3303
Click for usage information
Keypad Quick Reference
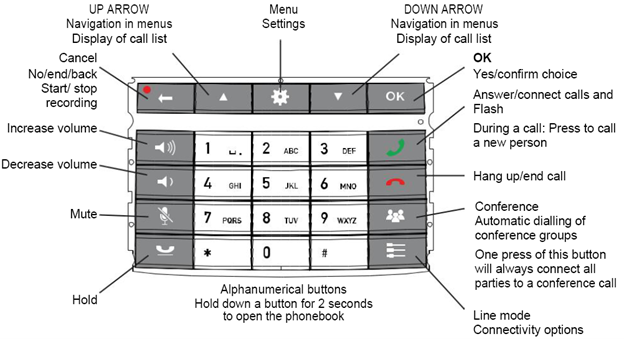
Calling
General
- Starting a call – Dial the phone number on the number pad and press
 to initiate the call.
 - Answering incoming calls – Press .
- Ending calls – Press
 .
. - Muting/Unmuting – Press
 . The LEDs will turn from blue to red when muted.
 - Increasing volume – Press
 .
. - Decreasing volume – Press
 .
. - Hold – Press
 . The LEDs will turn from blue to flashing red when the call is on hold.
Redialing
- Press an arrow button ▲ / ▼ to bring up the call history.
- Use the arrow buttons to navigate to the number you wish to redial.
- With the number is selected, press to start the call.
Three-Way Calling
- If you are not already in a call, phone your first participant.
- Once they have answered, press again. A second dialing tone will be heard.
- Call the second participant.
- If they answer – Press and then 3. This will connect all three participants into one call.
- If they do not answer – Press to return to the first call.
- If they answer – Press
Conference Calls (Up to Six People)
- Press the
 button.
 - Use the arrow buttons ▲ / ▼ to select QUICK GUIDE and press OK.
- Dial the first participant’s phone number and press OK.
- If they answer – Press OK and continue to the next step.
- If they do not answer – Press ●🠈. You will be asked if you would like to redial that person:
- Redial – Press OK and return to the start of this step’s outcomes.
- Do not redial – Press ●🠈. You will be asked if you want to call the next participant or end the process:
- Next participant – Press OK and continue to the next step.
- End – Press ●🠈.
- If you have more participants to call, press OK and repeat step 3. Otherwise, press ●🠈 when you are finished.
Dialing into a Meeting
To view the steps, click on the tab for your meeting platform.
Microsoft – Join a Teams meeting by phone
Open the meeting details to locate the phone number and phone conference ID.
- Email – The details are in the body of the meeting’s email invitation.
- Desktop – Click on the meeting in your calendar. Expand the meeting by clicking the arrows in the top right corner. The details are listed under the Details tab. You may have to expand the Show join info header.
- Mobile – Click on the meeting in your calendar. In the Details tab under the Join button, click See More to reveal the full meeting description.
The details should look like the image below. The local phone number is the first 10 digits (plus area code) before the double commas. In this example, the phone number is +1 343-302-7449. The rest of the number is the conference ID.
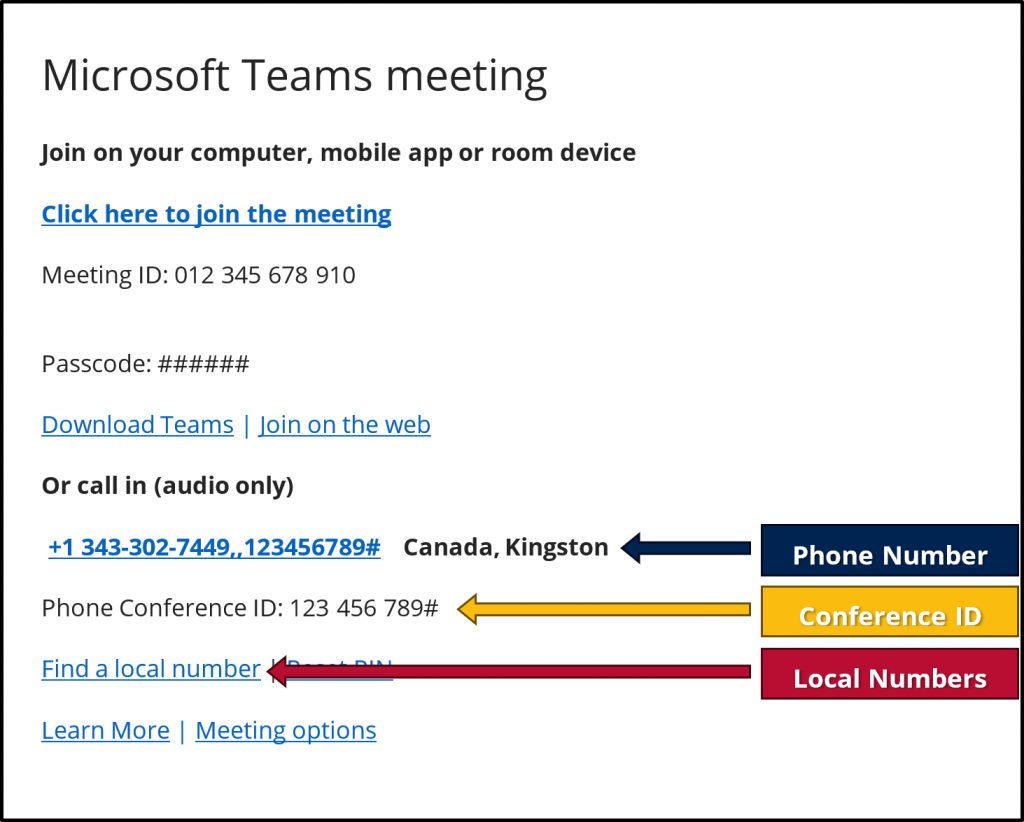
Then, call the meeting’s phone number without the conference ID. When the call is connected, follow the instructions to enter your conference ID.